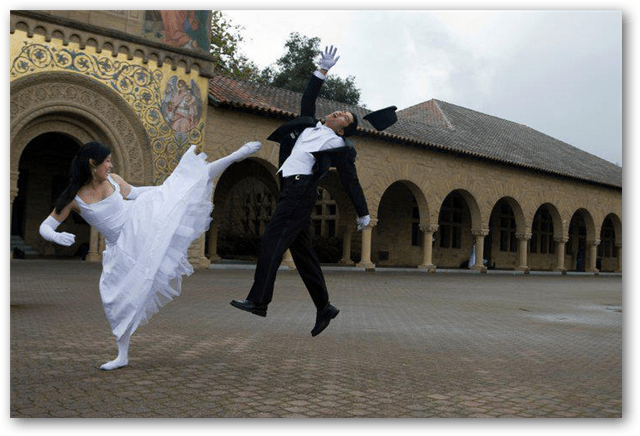
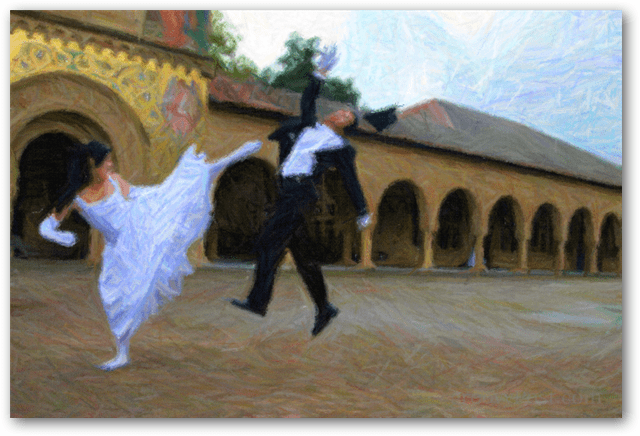
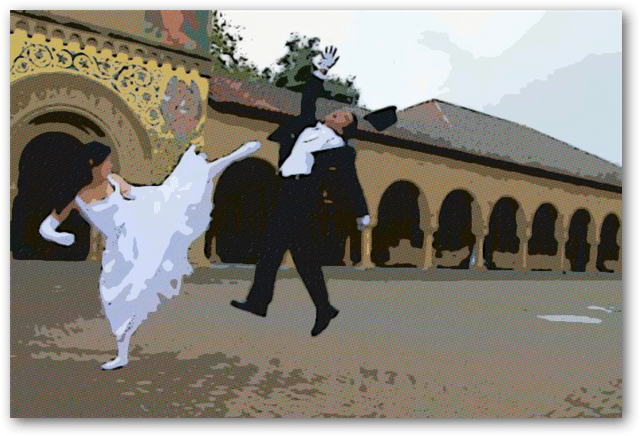
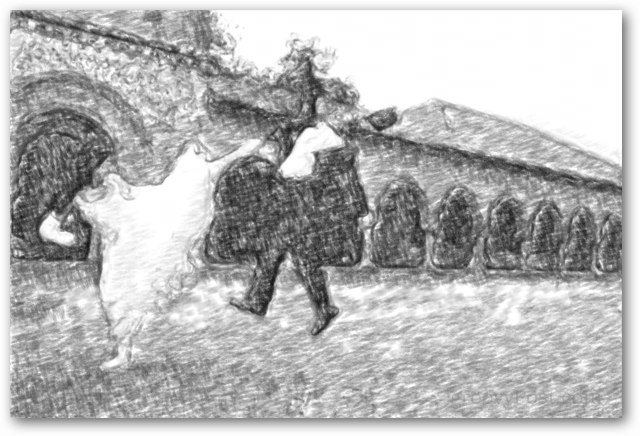
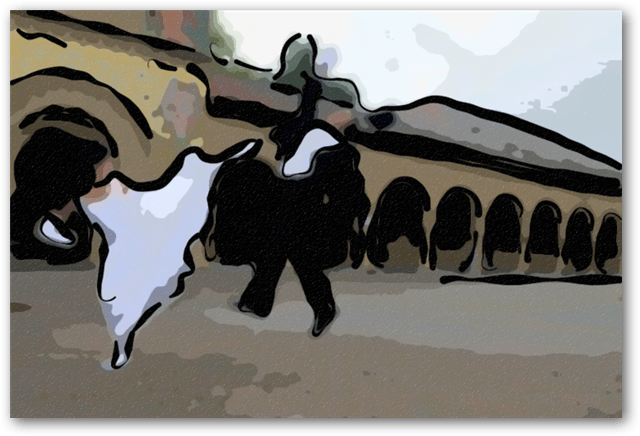
If you’re trying to convert things into a hand-drawn appearance, then Snap Art 3 is a Photoshop plugin that can handle the job. It, like many other plugins, provides a unique set of filters that automate what would normally take hours of manual labor. The biggest problem with Snap Art 3 however, is the price. It’s quite far from free at a $199 price tag or a $99 cost for the upgrade. So what exactly does it do? I’ll show you. Example Original – This first image has no changes made to it; for comparison use.
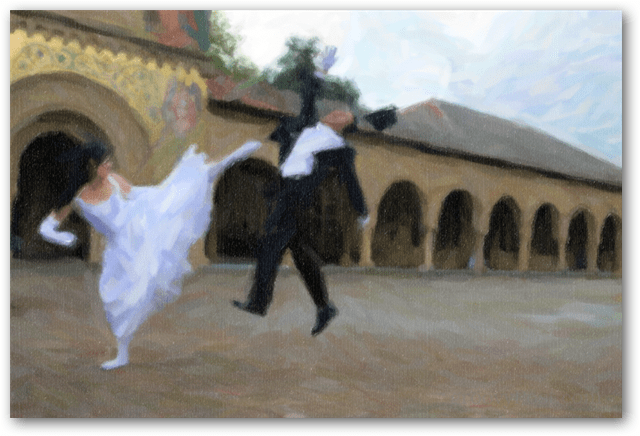
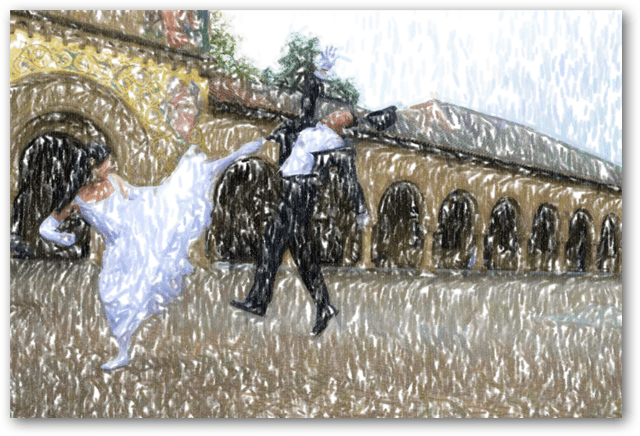
From here on, this is what Alien Skin: Snap Art 3 can do. Rather than mixing and matching layers or doing any brush and layer work, I’m only going to use the plugin to manipulate these images. And truth be told, one of my gripes is the masking layer doesn’t provide support for multiple layers on your main project, and only one filter can be applied at a time. With that said, if you use duplicate layers and mask outside of the filter better results can be had – but for $200 I kind of wish it would do it for me. Here’s some examples of what can be done.
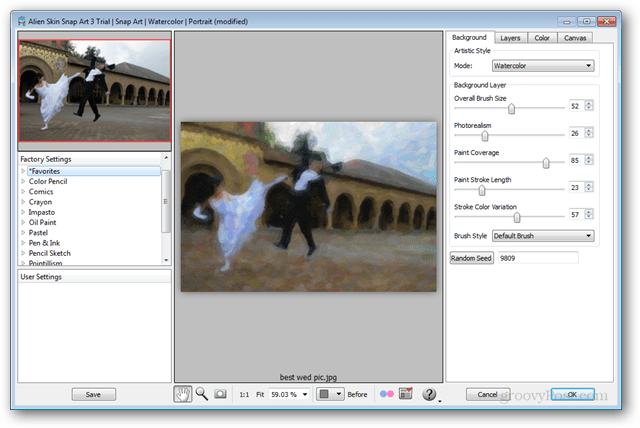
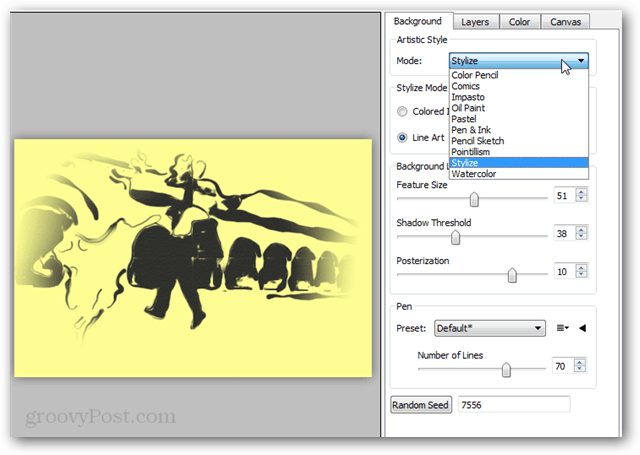
Working with Filters Like most Photoshop plugins, Snap Art 3 opens up in it’s own configuration window. I have to say it isn’t my favorite interface, but it’s really responsive. I’ve encountered some plugins that run slow regardless of the system, this is not one of them. I guess you could say, Snap Art 3 runs pretty snappy.
The “Layers” tab does what it is supposed to do. But it will take some getting used to. There are three different types of masks you can apply: Detail, Structure and Abstract. I say it takes some getting used to because it isn’t entirely obvious what each mask effect can do until you’ve tried each one and adjusted the settings. I like that you can apply multiple different masks using mask layers. I also like that it has a show/hide button for the mask you are currently drawing. Again, I’m really digging the masking feature. I just wish it could convert the mask to a Photoshop layer.
Color settings are more or less what is already available in Photoshop, but it’s nice having it all-in-one. Oh, and speaking of color I didn’t see support for CMYK mode. Moving on.
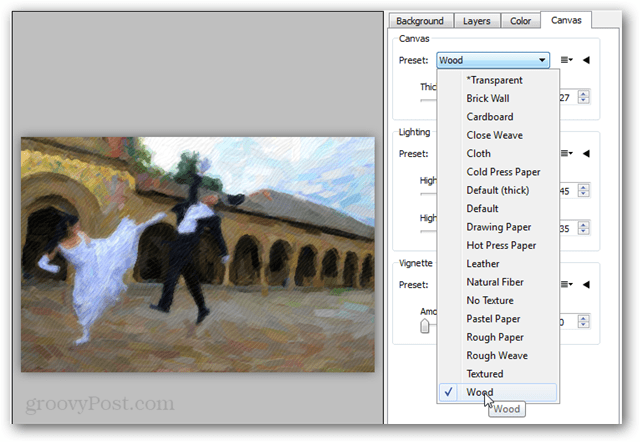
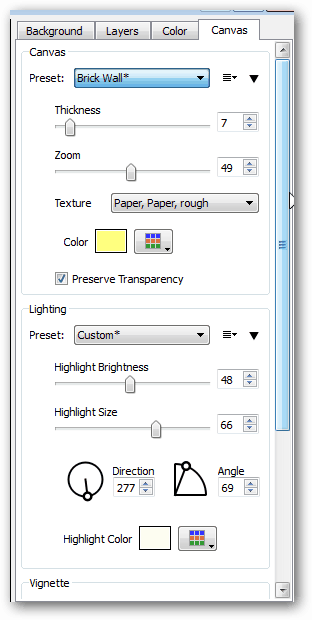
The Canvas feature adds a nice touch of texture and color, and there are certainly a lot that can be done with it. Specifically, it is useful for changing the look of the material the picture has been drawn onto.
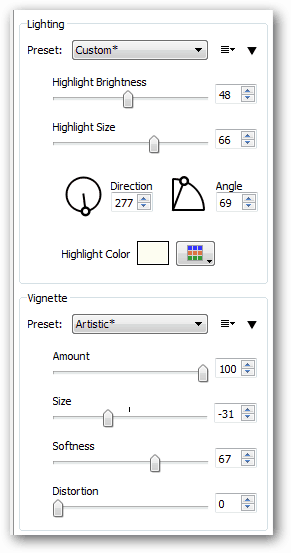
The vignette adds a nice touch of natural looking borders with its Artistic setting and a canvas texture. There isn’t a way to change the bordering positioning much, although this is easy enough to replicate with a brush in Photoshop. See, doesn’t it look like someone painted this onto a wall?
Further into the customization settings, Snap Art 3 offers enough to cover nearly everything I could ask for. And let’s not forget about Adobe Lightroom, which works with this plugin, so it doesn’t necessarily require Photoshop to run.
When first trying the plugin out I was thankful for the wide array of preset filters in the left-pane, but what it really boils down to is 10 different “modes” and then delving into the customization of each one. There’s a lot settings associated with each mode, enough that I think you could create a variety of art using the same image.
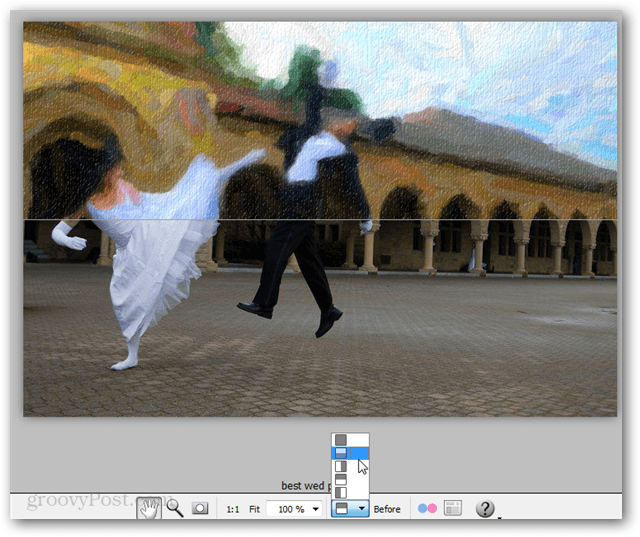
And last of all, my favorite feature is the split-screen view. Which I found extremely useful for critiquing the photorealistic setting when using a mask.
Overall I’m really impressed with the Snap Art 3 filters. There isn’t many other filters out there that can take a photo and make it legitimately seem hand drawn, but this one does. While I have a few complaints about the plugin, they are mostly minor. I don’t really think it is worth the expensive $200 price tag unless you’re in constant need of hand-drawn artwork. Then again, it completely surpasses any of the free filters I’ve found anywhere else. Comment Name * Email *
Δ Save my name and email and send me emails as new comments are made to this post.
