So, if you’ve just realized that something must be done and that the computer has started to slow down after all those fonts were installed, read on. Below, we’ll show you how to remove all of the third party fonts that were installed in one clean wipe.
Step 1
First, you will want to go to Control Panel in the Start Menu, just like I’m showing you below: Click the Start Menu Orb and Select Control Panel.
Step 2
There? Now, switch the view of the Control Panel to “View by Large Icons” or “View by Small Icons”, in the top right corner, if it’s not already set that way, and then click the Fonts button. Just like you can see in the screenshot below.
Step 3
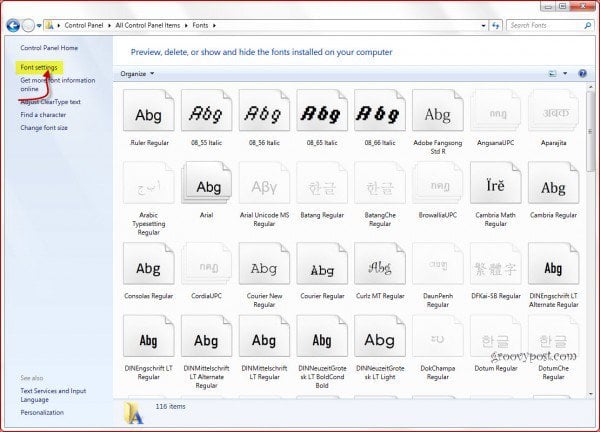
You should get to a window that lists all of the fonts installed on your computer (a lot of them, probably), just like the one below. You’ll just Click Font settings at the top-left of the window; like I did in the screenshot below.
Step 4
In the window that appears, Click Restore default font settings.
Done!
Then, just click “OK” and everything should be back to normal. That was easy eh? the problem is that there are no fonts displayed. i installed the wrong font package and now have over 2GBs of font. i cant get any of my office programs, photoshop, and flash to load now. any other ideads Comment Name * Email *
Δ Save my name and email and send me emails as new comments are made to this post.


![]()
