There are two ways you can do this. The first is automating a straight copy and paste of an existing range from Excel into a new table in a Word document. The second is performing calculations in Excel, creating a new table in Word, and writing the results to the table. You could try to record a macro to do this, but macros will only let you automate tasks inside of Word. In this article, you’ll learn how to write VBA code to automate these actions between Excel and Word.
Copy And Paste An Excel Range Into Word With VBA
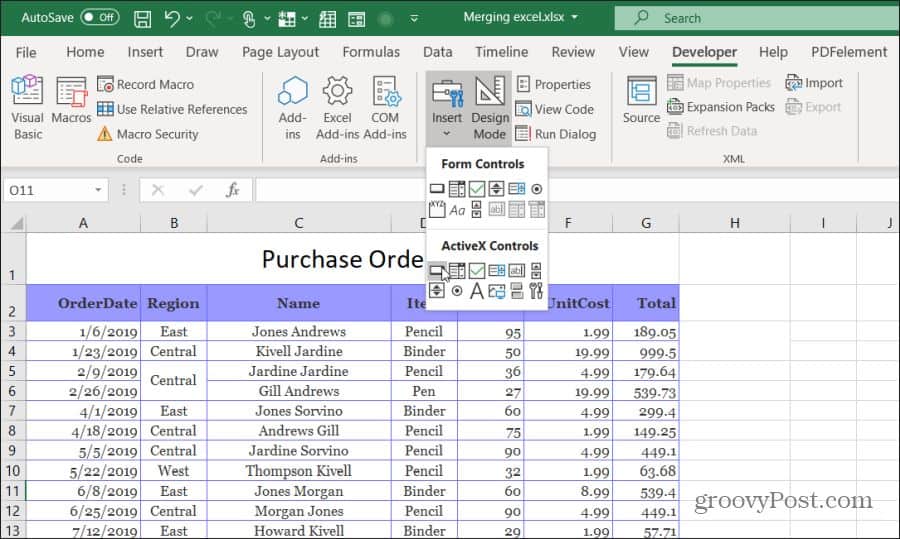
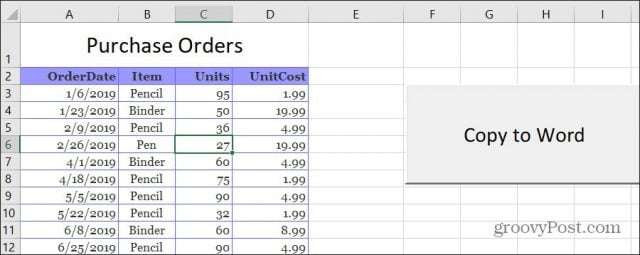
In both examples, we’ll start with a sample Excel spreadsheet. This sample is a list of purchase orders for a variety of products.
Let’s say you’d like to copy and paste the entire range of cells in this worksheet into a Word document. To do this, you’ll need to write a VBA function that’ll run when you click a “Copy To Word” button. Select Developer from the menu and select Insert from the Controls group in the ribbon. In the drop-down list, select the Button control under ActiveX Controls.
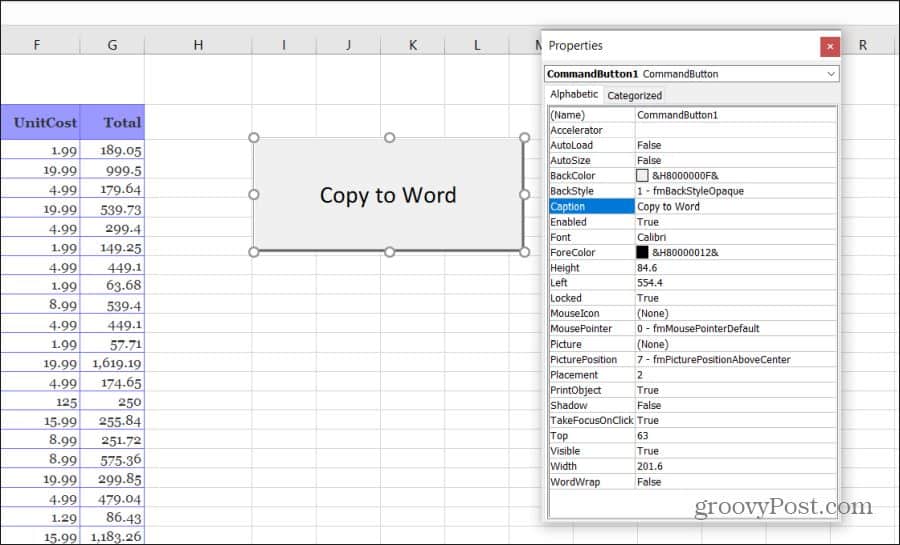
Next, draw the command button on the right side of the sheet. You can change the caption to “Copy to Word” by right-clicking the button and selecting Properties. Change the caption text, and you can use Font to update font size and style.
Note: If you don’t see Developer in your Excel menu, then add it. Select File, Options, Customize Ribbon, and select All Commands from the left drop-down. Then move Developer from the left pane to the right and select OK to finish.
Write The Copy And Paste VBA Code
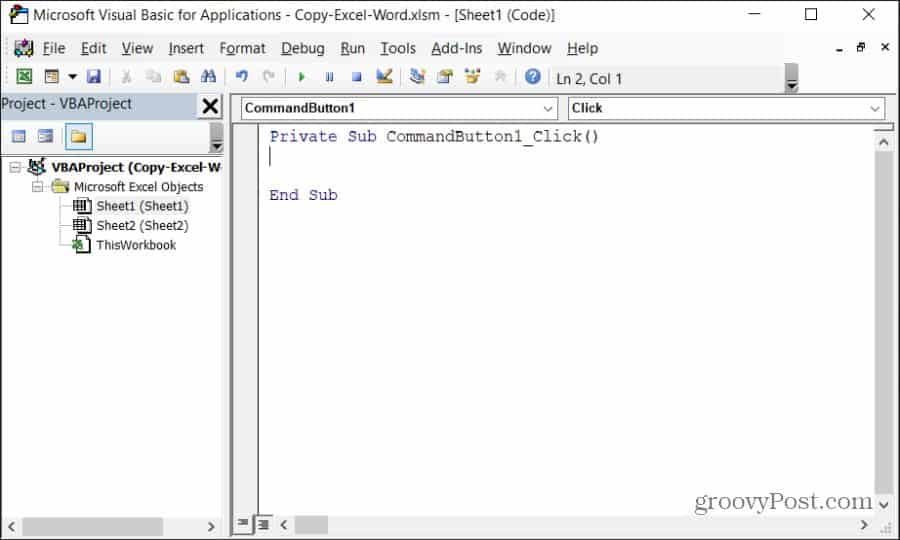
Now you’re ready to start writing VBA code. To get started, double-click the new Copy to Word button to open the code editor window. You should see a subroutine called Commandbutton1_Click() as shown below.
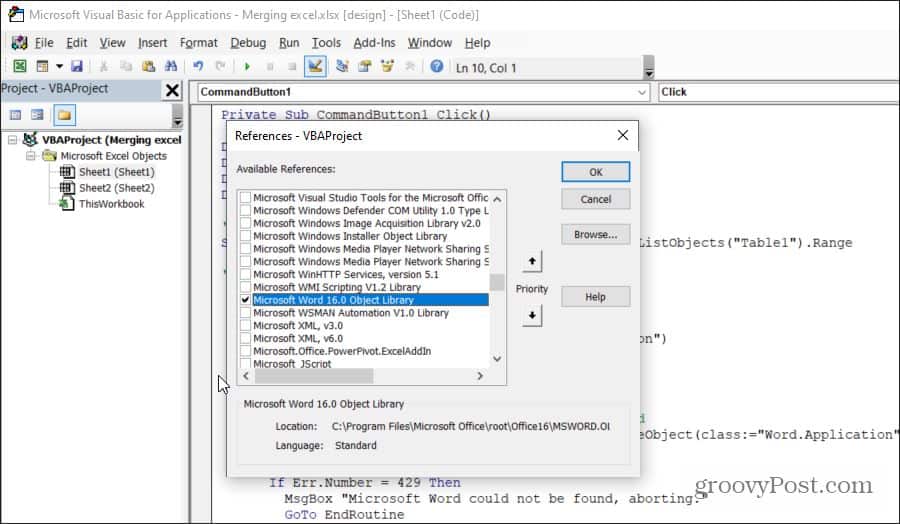
You’ll want to copy each section of the code below. Before you start coding, to control Word on your computer using VBA, you’ll need to enable the Microsoft Word reference library. In the code editor, select Tools from the menu and select References. In the list of Available References, scroll down and enable Microsoft Word 16.0 Object Library.
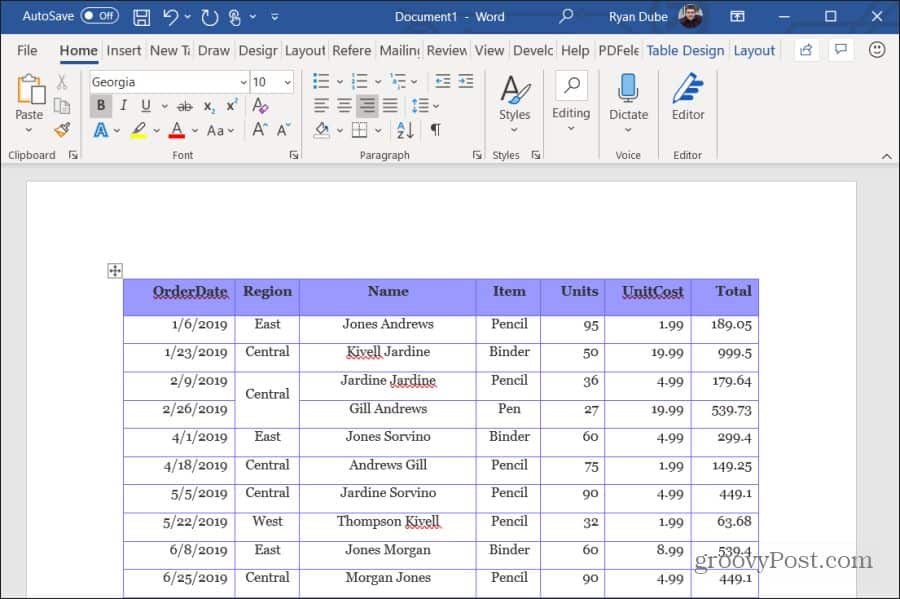
Select OK, and you’re ready to start coding. We’ll go through each section of code at a time, so you understand what that code does and why. First, you need to create the variables and objects that’ll hold the range and allow you to control the Word application. Dim tblRange As Excel.Range Dim WordApp As Word.Application Dim WordDoc As Word.Document Dim WordTable As Word.Table The next line of code selects a specific range of cells and saves it to an Excel Range object in VBA. Set tblRange = ThisWorkbook.Worksheets(“Sheet1”).Range(“A2:G44”) Next, you want to check if the Word application is already open on the computer. You can reference the Word application using a special “class” reference with the VBA GetObject command to accomplish this. If Word isn’t already opened, then the next line will launch it using the CreateObject function. The “On Error Resume Next” line prevents any error from the first GetObject function (if Word isn’t already open) from stopping the execution of the next line in the program. On Error Resume Next Set WordApp = GetObject(class:=“Word.Application”) If WordApp Is Nothing Then Set WordApp = CreateObject(class:=“Word.Application”) Now that the Word application is launched, you want to make it visible to the user and activate it for use. WordApp.Visible = True WordApp.Activate Next, you want to create a new document inside the Word application. Set WordDoc = WordApp.Documents.Add Finally, you’ll copy and paste the range of cells into a new table in the Word document. tblRange.Copy WordDoc.Paragraphs(1).Range.PasteExcelTable _ LinkedToExcel:=False, _ WordFormatting:=False, _ RTF:=False The switches in the above function will insert a non-linked table using source Excel formatting (not Word formatting) and not using rich text format. Finally, to deal with Excel ranges that are wider than the document, you’ll need to autofit the new table, so it fits within the margins of your new Word document. Set WordTable = WordDoc.Tables(1) WordTable.AutoFitBehavior (wdAutoFitWindow) And now you’re done! Save the file as a macro-enabled Excel file (.xlsm extension). Close the editor, save the original Excel file again, and then click your command button to see your code in action!
Write Excel Results Into A Word Table With VBA
In this next section, you’ll write VBA code that performs calculations on values in Excel and writes those to a table in Word. For this example, we’ll pull 10 rows worth of data, calculate, and write the results to a table in a Word document. Also, the original table will contain four columns, and the VBA code will pull the first ten rows of data from that range.
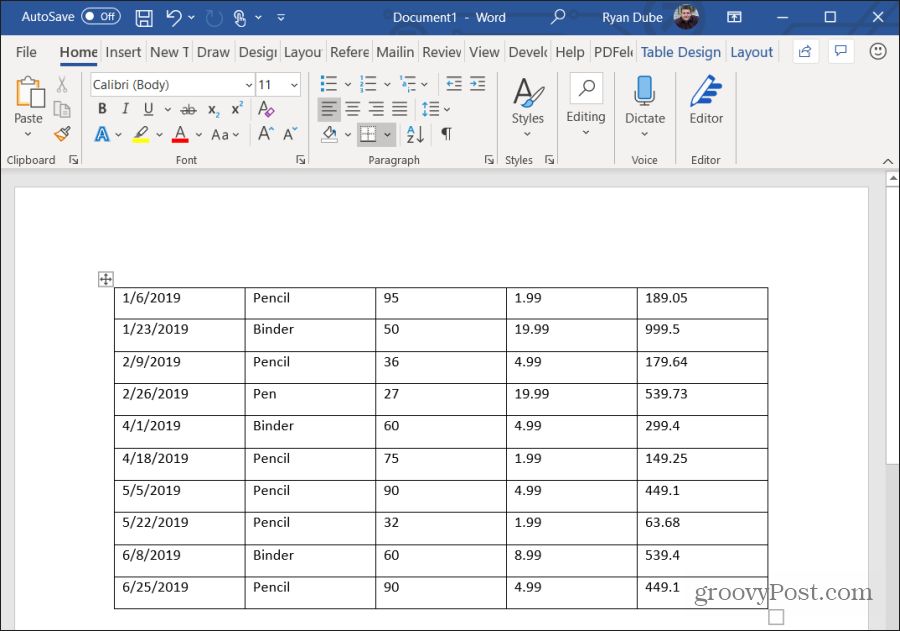
Just as in the last section, we’ll go through each section at a time, so you understand what that code does and why. First, create the variables and objects that’ll hold the data and allow you to write to the Word application. Dim tblRange As Excel.Range Dim WrdRange As Word.Range Dim WordApp As Word.Application Dim WordDoc As Word.Document Dim WordTable As Word.Table Dim intRows Dim intColumns Dim strDate As String Dim strItem As String Dim intUnits As Variant Dim intCost As Variant Dim intTotal As Variant Next, set the total columns and rows you want to read from the Excel range. intNoOfRows = 10 intNoOfColumns = 5 Repeat the same code as the last section that’ll open Word if it isn’t already open. On Error Resume Next Set WordApp = GetObject(class:=“Word.Application”) If WordApp Is Nothing Then Set WordApp = CreateObject(class:=“Word.Application”) WordApp.Visible = True WordApp.Activate Set WordDoc = WordApp.Documents.Add The next four lines create a table inside that newly opened Word document. Set WrdRange = WordDoc.Range(0, 0) WordDoc.Tables.Add WrdRange, intNoOfRows, intNoOfColumns Set WordTable = WordDoc.Tables(1) WordTable.Borders.Enable = True Finally, the following loop will perform these actions: Here’s what that code looks like: For i = 1 To intNoOfRows For j = 1 To intNoOfColumns If j = 1 Then strDate = tblRange.Cells(i + 1, j).Value strItem = tblRange.Cells(i + 1, j + 1).Value intUnits = Val(tblRange.Cells(i + 1, j + 2).Value) intCost = Val(tblRange.Cells(i + 1, j + 3).Value) intTotal = intUnits * intCost End If Select Case j Case Is = 1 WordTable.Cell(i, j).Range.Text = strDate Case Is = 2 WordTable.Cell(i, j).Range.Text = strItem Case Is = 3 WordTable.Cell(i, j).Range.Text = intUnits Case Is = 4 WordTable.Cell(i, j).Range.Text = intCost Case Is = 5 WordTable.Cell(i, j).Range.Text = intTotal Case Else End Select Next Next The “Cells” function in the first part pulls the cell values out of Excel. Cells(x,y) means it pulls the cell’s value at row x and column y. The “Cell” function in the last part writes to the cells in the Word table, using the same row and column assignments. Once you save and run this VBA code, you’ll see the results in your newly created Word document.
As you can see, it isn’t too complicated to create some useful automation between Excel and Word. It’s just a matter of understanding how the various “objects” work to create and control both the Excel and the Word applications on your computer.


![]()
